Tuesday, February 25, 2014

WIP: Raptors Drop Pod

While I was waiting for the glue to dry after final assembly of the Land Raider Crusader hull, I happened to come across a drop pod on my shelf that was partial painted blue. I had already assembled a majority of the kit, at least to the point where I could paint it in sub-assemblies before completely assembling it. It dawned on me that I should use it as a full scale weathering experiment before I finished the Land Raider (it doesn't help that I also have a bad case of hobby ADD). This model also harkens back to my beginnings in the hobby and it was obvious I didn't really know what I was doing then, considering all the mold lines that were left on it and the bad glue job. Some of the pieces were painted ultramarine blue so I decided just to paint over them seeing as how the entire model was going to be heavily weathered. Here are a few WIP pictures:

Tuesday, February 18, 2014

Land Raider: WIP

I've been on nights this week so my time to work on this model has been shorter than I like, but I did manage to finish the twin-linked assault cannon today before I went to work.


 The cannon was primed with Vallejo Surface Primer Black and then give a coat of P3 Pig Iron with an airbrush. Though not visible from these pictures, shadows on the cannon were painted using thin coats of VMA Burnt Umber and VMA Black for the darkest shadow. Scratches and edge highlights were made with GW Mithiril Silver and the cannon body was given a pin wash of Secret Weapon Miniatures Armor Wash. The barrels were given the heat-distressed look using the method described by Ron of From the Warp blog fame.

Monday, February 17, 2014

Land Raider WIP: Weathering expirement

Based on feedback I've gotten on other models I've completed, I decided to go full bore and weather this tank the way it should be. I have tried it before on a 
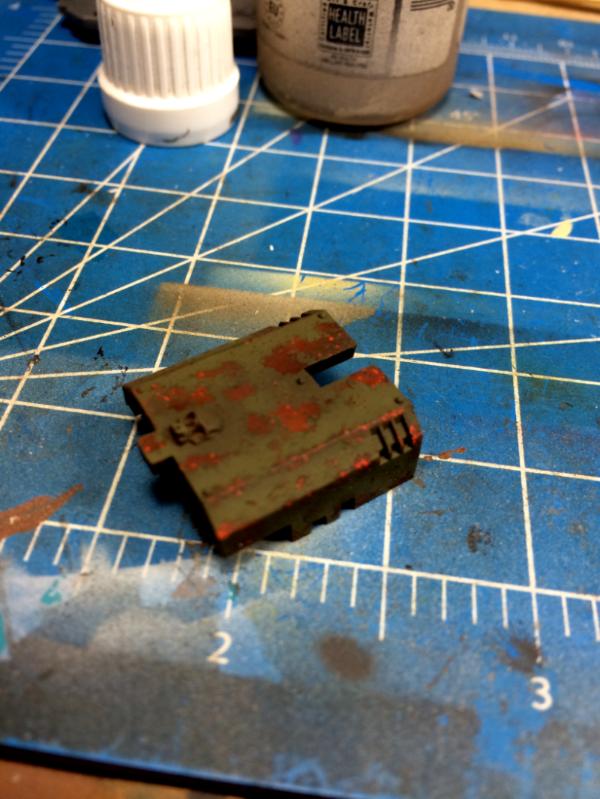
Rhino I completed for a local painting contest a year and half ago (I had only been painting for 6 months and it was my first completed vehicle... I also won for best vehicle!). The last time, I was pretty conservative on the application of the weathering, but since then I have gained a little more confidence and expertise so I will attempt a more through effect. I did a test piece this morning to see how it would turn out and took a quick snap with my phone (it turned out slightly blurry, my apologies). This is the shroud for the twin-linked assault cannon:


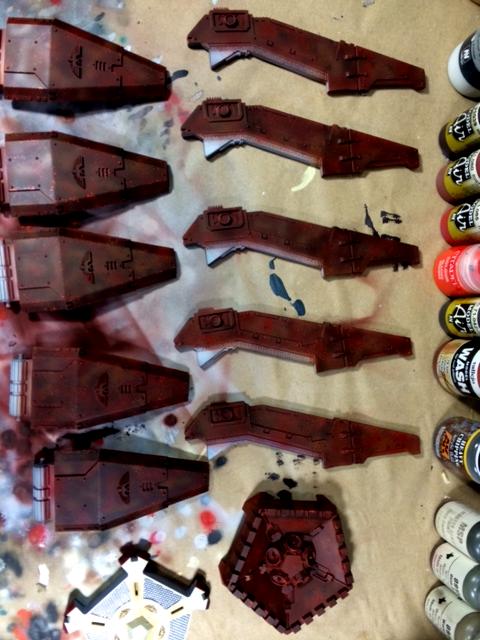
It was primed with Vallejo Surface Primer Grey then given an base coat of VMA Hull Red with an airbrush. I then added spots of VMA Rust and VMA Italian Red, also with an airbrush. I sponged on some GW Blazing Orange and VMA Camo Black Brown. To bring shift colors closer to an oxide rust and to kill the intensity of the orange chips, I used Vallejo Model Wash Rust sprayed through the airbrush as a filter. After everything was dried, I sealed the paint with a couple of coats of Liquitex Matte Varnish. When the varnish was dried, I applied three coats of Heavy Chipping Fluid from AK Interactive. If works similar the tried-and-true "hairspray technique" that AFV modelers have been using for years, with the benefit 
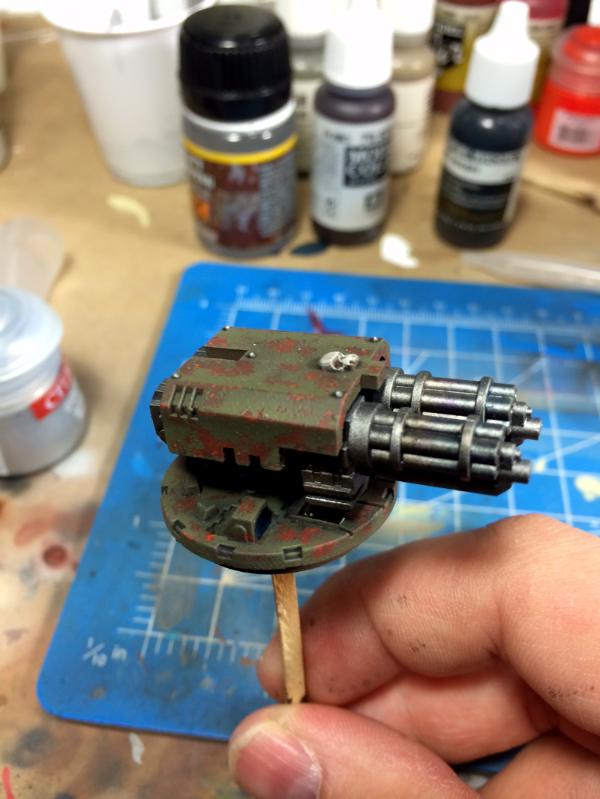
of not smelling like hairspray. After the chipping fluid was dry, I proceeded to work on the green using my normal method for Raptors, which is RMS Olive Shadow, RMS Olive Drab, and RMS Worn Olive for the shadow, base color, and highlight respectively. When that was completed, I got down to the chipping. Using and old brush, clean water, and a modeling tool, I went to town on the weathering. Using the brush with clean water, you lightly humidify the top coat of paint so that the water seeps down to the chipping fluid. After a couple seconds, you can use the brush (or a toothpick or modeling tool) to scrape away the top layers of paint, exposing the "rust" layer below. After everything was dry, I sealed the entire piece with a couple of coats of matte varnish.

Saturday, February 15, 2014

Work in Progress: Land Raider Crusader

I completed the interior details for my Land Raider Crusader. Now of course when I assemble the tank and close the hatches, most of what I've done won't be seen, but I will know it is there so I can rest easy.


Thursday, February 13, 2014

Showcase: Raptors Devastator Centurion

Here is a Devastator Centurion from the Raptors space marine chapter and is my first completed miniature in almost a year. I tried some OSL (which is something I don't typically do) on the grav cannon and while I'm not completely sold on it, I think it looks passable. I'm not overly fond of the base either, but I think it will do for now. I have started working on a Land Raider Crusader that these fellas can ride around in.


Saturday, February 1, 2014

Hobby Desk


I am in the process of renovating my basement where my hobby desk is but I had a friend of mine ask me what my setup looked like now. Right now, all those boxes are stacked on a mini-fridge but I am trying to come up with a more elegant solution to the storage of all these boxes. I will most likely move the mini-fridge into the garage and place an album storage shelf were the fridge is now. I am flirting with the idea of putting all of those boxes in my mechanical closet that is also in the basement but I am yet undecided. After the renovation, which will see my hobby "room" turned into an actual room because I am adding a wall and a door in the hallway leading the room, I would like to replace that black shelving unit with a lighted glass display case that can store my completed models and my football memorabilia.

Showcase: Raptors Chapter Tactical Marines


Here are a few Raptors marines that I painted up. They were primed black with Vallejo Surface Primer and I then used Reaper Master Series Olive Shadow, Olive Drab, and Worn Olive for for the base color, highlight, and second highlight respectfully. I tried to get a little creative with the urban battlefield basing and I think I succeeded.